Process Monitoring for Direct Metal Deposition
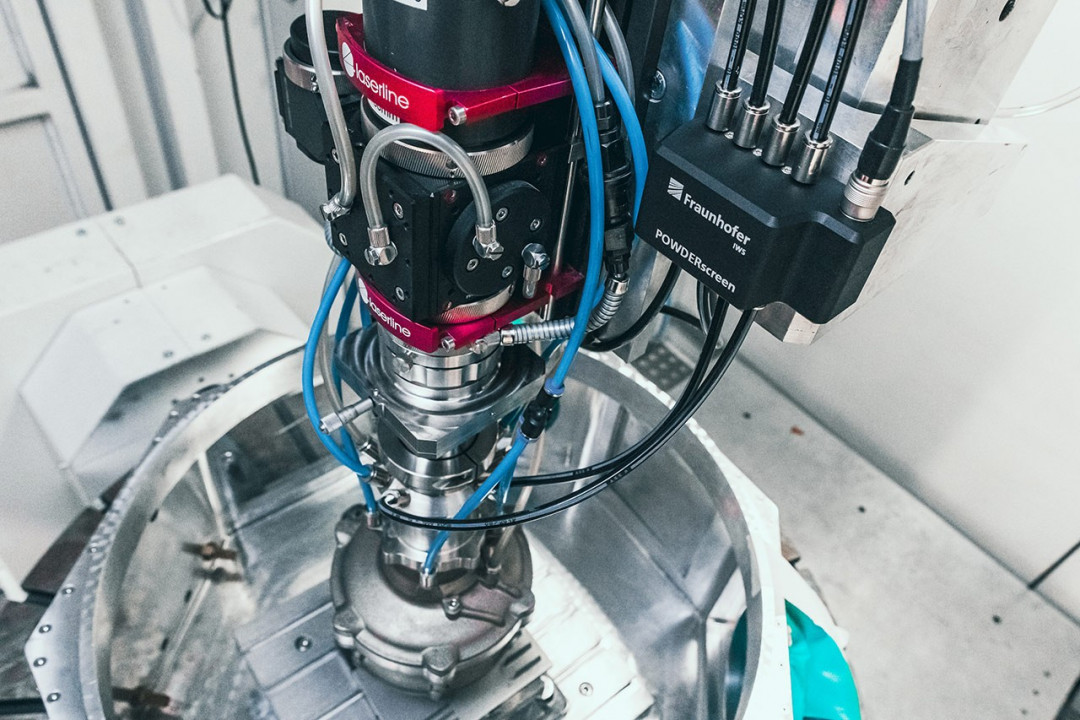
“POWDERscreen” detects powder particles: Increased process reproducibility through permanent monitoring of the powder mass flow rate
For a stable and therefore reproducible process, in addition to process shielding with “COAXshield” and the qualification of the powder cone by the “LIsec” device, it is also necessary to know all input variables exactly and to control them, if necessary. Especially the continuous measurement of the fed powder quantity has been a great challenge so far. The fed powder mass can be calculated exactly on this basis. As a result, it is possible to detect fluctuations in the particle mass flow and report them to a downstream controller.
Not only does this significantly increase the process reliability, but it also enables several different powders to be mixed in a targeted manner during the welding process. A discrete-time measurement of the powder mass flow also significantly increases the process digitization level and provides data for creating a digital twin of the created component.
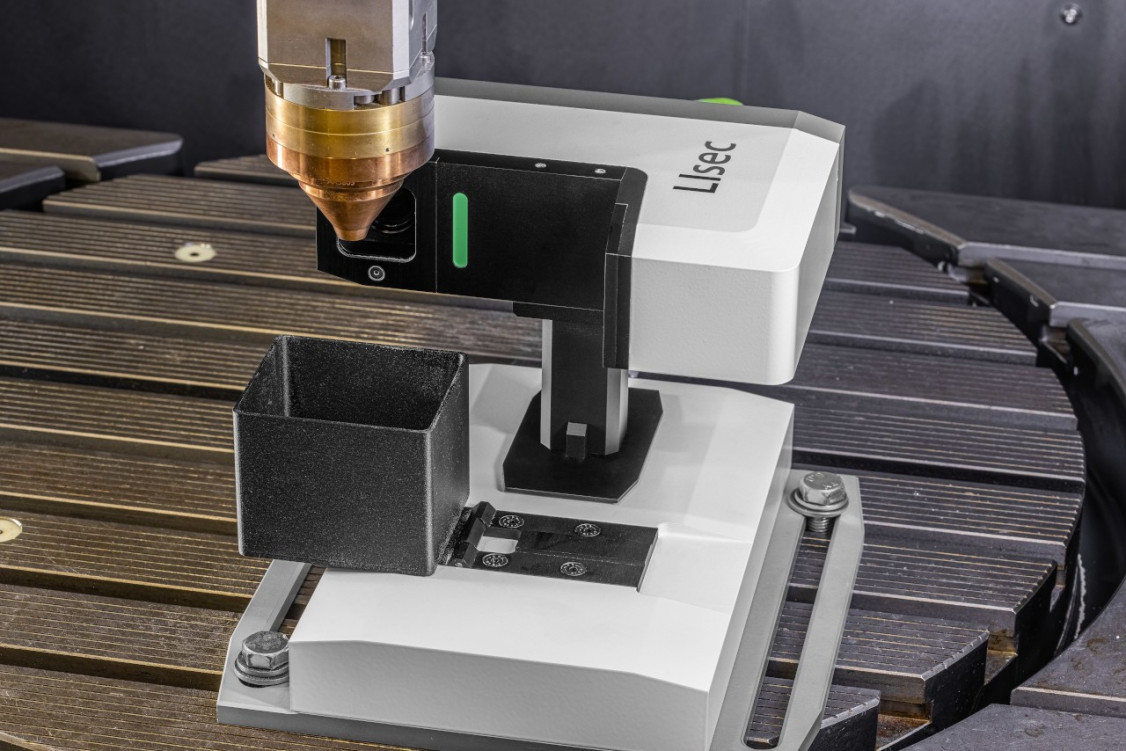
“LIsec” lights the powder flow: A measuring system for automated characterization of the powder nozzle during laser powder build-up welding
While tool calibration is state of the art in conventionally used ablative processes such as milling, in laser powder build-up welding it is still a great challenge. Fraunhofer IWS developed the measuring device ”LIsec” to solve this challenge and to move the limits to technical feasibility. The abbreviation stands for ”Light Section” and already reveals the principle: A measuring laser scans the powder flow after leaving the nozzle. A right-angled camera records light sections through the powder and forwards them to an analysis software. The three-dimensional distribution of the powder flow can be calculated with high precision. This allows significantly simplified quality control and provides information on the wear degree of the powder nozzle.
For example, it can be used to repair damaged or worn turbine blades on aircraft in higher quality and more reliably than before. In this respect, the measuring device can contribute to greater safety and lower maintenance costs in aviation.
(Source: Fraunhofer IWS Press Release)


